Getting Hacked, How it Happened, and How to Protect Yourself

Hello everyone, BluWizard here.
I'm happy to announce that things are starting to return to normal here at Poiyomi Labs. The malicious actor responsible for the hijacking has been properly dealt with, disposed of, and thrown in the Garbage Compactor.
It is highly recommended that you clear your browser's cookies and data before accessing pro.poiyomi.com to download Pro Shader packages.
This is because we've received some reports that existing cookies will throw an error when attempting to download it through the Pro VCC Package.
Wait... what happened?
In case you have been living under a rock this whole time, a cybersecurity event occurred on Poiyomi's accounts. If you don't know who Poiyomi is... then I am very shocked.
Duh! He's the creator of Poiyomi Shaders for god sake! The one who created the shaders for our Avatars in VRChat that we know and love today!
But, how did this cyber attack happen? Well today, I am going to break down what exactly happened based on the information I've learned and from my research into this incident.
This is going to be a much different subject than what we normally talk about here, so sit down and drink some coffee because this one is a doozy!
The Attack
On April 13th, 2026, Poiyomi fell victim to a targeted cyber attack that involved a takeover of their Google Account and Discord, among others. During that time, packages were temporarily inaccessible and voluntarily taken down as a security precaution.
To put things simply, Poiyomi, like all of us, are gamers. And just like anyone, we can fall for security exploits that happen without us even noticing. His account got compromised after downloading a modpack for Minecraft from CurseForge.1 The attacker invited Poiyomi to a Minecraft server over Discord and provided a package to install via CurseForge, which is a known reputable website across the Minecraft community for hosting user-generated modpacks for Minecraft. Not only that, but the attacker used social engineering by digging into their friends list to claim that people they knew were already playing Minecraft in order to draw them in.2
Once the Modpack was successfully installed via CurseForge, chaos ensued.
The hacker gained control of Poiyomi's Google and Discord account via session hijacking. This is known as a "token grab," which is a malicious scripting attack where the login token is stolen from the browser's cookies and sent over the internet. This is a known social engineering attack layered on top of a technical one, where the attacker used a trusted social context to lower the victim's guard before deploying malware.
Once the attackers had access, they quickly snooped over his personal information leading to possible identity theft due to the sheer amount of personal information linked to their Google Account.
Now, you may be asking, "Wouldn't Poiyomi use Multi-Factor Authentication (2FA) everywhere?"
Yes, you would be right. He did have Multi-Factor Authentication enabled. Except that, even if you have Multi-Factor Authentication enabled, your login tokens are still exposed as a cookie!
The Malware Vector
This is not the first time CurseForge was weaponized this way to attack video gamers. A known variant of this exact incident dates back to Fractureiser in 2023, where several CurseForge and Bukkit accounts were compromised and used to inject malicious code into plugins and mods, which were then adopted by popular modpacks such as Better Minecraft, which amassed over 4.6 million downloads. Notably, many of the impacted modpacks were compromised regardless if the owners had Multi-Factor Authentication or not.3
The malware's purpose was to act as an infostealer — which stole Minecraft and Discord authentication tokens, as well as cookies stored on the web browser.4 This is the exact kind of malware Poiyomi fell victim to.
Another instance of this malware vector was the Stargazers Ghost Network which distributed malicious loaders disguised as legitimate Minecraft mods through over 500 GitHub repositories, boosted with fake stars and forks to appear trustworthy. Once installed, the malware captured Minecraft session tokens, Discord and Telegram login tokens, and deployed a .NET-based stealer to exfiltrate browser passwords, VPN logins, and other sensitive information.5
These vectors have one thing in common — they use the same Java-based architecture to hide malware inside .jar files that is executed silently alongside the game.
How Session Token Theft Works (and Why Multi-Factor Authentication Can't Stop It)
When you successfully log in to a web application, the server generates a session token stored as a cookie in your browser. This token tells the server, "I have already proven who I am, so keep me logged in." Unlike credential theft, which targets usernames and passwords, attackers can abuse the token created after authentication — directly bypassing the need to know a password.6
Why doesn't MFA help once a token is stolen? Well, that's easy. Multi-Factor Authentication only serves one purpose: Guard the Login. Once the Login is complete and a session token is issued, Multi-Factor Authentication has done it's job. Now that the session is valid, it can remain active for hours or even days by assuming the Web Browser's cookies were never cleared regularly. So when an attacker steals your token, no login event is triggered and no Multi-Factor prompt is triggered because the Multi-Factor Authentication already happened when the original session was created.7
All modern Web Browsers store cookies in databases on the user's device. Malware specifically designed to target these databases can silently extract session tokens and transmit them to attackers, which is done through infostealer software. The same infostealer software is often used to "pass-the-cookie" which occurs when attackers hijack a victim's session cookies even when the application is not being used.8 Because of how session hijacking bypasses Multi-Factor Authentication and passwords entirely, it is one of the fastest-growing attack vectors across the internet. If you think about how large this can be scaled, it is pretty frightening.
What We Did
Shortly after the attack occurred on Poiyomi, his Discord account began to act maliciously... changing permissions and removing Moderators since Poiyomi's Discord Account was the Server Owner (which has ALL permissions). The entire team here at Poiyomi Labs worked their very hardest to suppress the malicious actor's actions (which was hard to do because the malicious actor had access to a Server Owner's account).
To further protect ourselves, we began voluntarily shutting down our VCC Repositories, suspended Poiyomi's GitHub accounts, and began recovery efforts as soon as possible. It didn't take long for Poiyomi's Patreon account to get accessed by the malicious actor. Due to Patreon's extremely poor customer service, recovering access to their account was a nightmare. Eventually, Poiyomi regained access after the entire community yelled at Patreon on Twitter/X on the issue.
Funny enough, Patreon decided to discontinue customer support on Twitter/X shortly after this incident became widespread on the platform. Coincidence? I think not!
What followed for an entire week was a tireless effort to recover ourselves from this incident. A lot of misinformation was spread about "malware being added to Poiyomi Shaders," which was never true. Even though files were hosted on VCC Repositories and in our Discord Server, you cannot edit files that were already uploaded. Regardless, we took the Repositories offline just in case.
I, myself (BluWizard) as the sole maintainer of the Poiyomi Documentation, was unaffected. Months ago, Poiyomi granted me management access to Vercel (our hosting provider for the Documentation). When the incident occurred and the PoiyomiDocs repository got taken offline temporarily with Poiyomi's GitHub account, I was able to temporarily change the Git Repo to my fork of PoiyomiDocs so that I could still maintain it. This allowed me and Tony_Lewis to post the same announcement made in the Discord Server on here about the incident and an FAQ. If Poiyomi didn't graciously grant me permissions to maintain our host, the website would have been "frozen" with no way to update information and a lot of unanswered questions. I am forever grateful for Poiyomi's trust in me to maintain the Documentation on his behalf.
Meanwhile on our Discord Server, we were flooded with lots of comments, questions, and complaints during that whole week. It was not easy for us, even for Tony_Lewis.
The Aftermath
Few hours passed after the attack happened, and eventually it all stopped. The malicious actor attempted to hold their account at ransom, but it reached a point where that was not possible thanks to the sheer amount of security measures we had in place. In the end, all parties involved reached a dead-end. Nobody, not even the attacker, could go any further. This whole game of chess resulted in a stalemate.
The whole situation wasn't over yet, however. Poiyomi was MIA as he was still working tirelessly to fully recover from the cyber attack. Identity theft reports were filed and many emails were sent.
As Poiyomi started to slowly bring his accounts online after fully regaining access, their GitHub Repositories started to come back online. It was time to rejoice! Although, many people argued that they didn't wanna risk being attacked either. Even so, we analyzed all the files once back online and we found NO changes made on GitHub. The files are still 100% safe to use, which was a huge relief.
The most important thing to express here is that this attack was caught on very early. If this went on for much longer without catching it early on, this situation could have been far more worse than we could have imagined.
What Can I Do to Protect Myself?
The strongest defense these days is yourself. Yes, it's not the greatest answer I can give, but you can have the strongest defense against cyber attacks if you know exactly what to do. Here are some advice I can personally share on how to best protect your account:
- USE FIDO2-based Security Passkeys that cryptographically bind authentication to specific devices and websites.
- I personally utilize FIDO2-based YubiKeys on my accounts, which are USB devices that cryptographically authenticates your login during Multi-Factor Authentication.
- USE Device Bound Session Credentials (DBSC) if available.
- Google's Device Bound Session Credentials (DBSC), available in Chrome v146 and newer, binds authentication sessions to a specific device using the Trusted Platform Module (TPM) on Windows. This means if the token was stolen, it is useless on other computers because of your TPM module. In fact, this is one reason why TPM 2.0 is a requirement for Windows 11.9
- HAVE shorter session lifetimes to reduce the value of a stolen token.
- A session that expires after 15 minutes of inactivity is far less useful to an attacker than one valid for several days.
- If you want to be extra vigilant, configure your Web Browser to automatically clear your Cookies on a scheduled cadence.
- AUDIT your active browser sessions on Google, Discord, GitHub, etc., and revoke anything you don't recognize.
- KEEP your preferred Antivirus Software active and up-to-date.
- Let's face it, Windows Defender cannot be the last line of defense. While Windows Defender detects some token stealers, Bitdefender and Malwarebytes have broader coverage of detecting them. Regardless, YOU are the last line of defense against any attack!
- DO NOT install software from unverified sources, even if they seem trusted! Think twice, analyze, and research before installing legitimate software.
- This obviously includes modpacks, as described in this post.
.jarfiles can be contaminated with malware if you're not careful!
- This obviously includes modpacks, as described in this post.
- IF a friend DMs you (most often randomly) about anything, watch the conversation pattern. If it feels off or unusual from what you are acquainted with, raise a red flag, ask a personal question that your friend would only know about you, and exercise caution.
- Sometimes when I receive a random DM from a friend with unusual messaging patterns and they insist me to do something, I like to rage-bait them to the point where they would just give up. The results can be hilarious.
- SETUP a SIM PIN to protect yourself from a "sim swap" attack. A "sim swap" is what happens when an attacker tricks your carrier to change your SIM card registration remotely without requiring them to physically change your SIM card.10
- Falling victim to a sim swap attack is even more horrific than a login token being stolen because an attacker can use your Phone Number to login to your accounts without your knowledge. Scary!
- Both iPhone and Android users can set up a SIM PIN in your phone's Carrier Settings. You would need to first enter the default PIN (provided by your carrier). Then, change it to a PIN that you will remember. That's it!
Conclusion
To be frankly honest, cybersecurity is extremely important in this day and age. With AI booming with popularity and big media prioritizing fear-mongering propaganda, it is vital that you carefully guard your online accounts with a sense of urgency on a daily basis. You never know when everything you care about online goes away in a blink of an eye.
Thank you for reading and please stay safe out there!


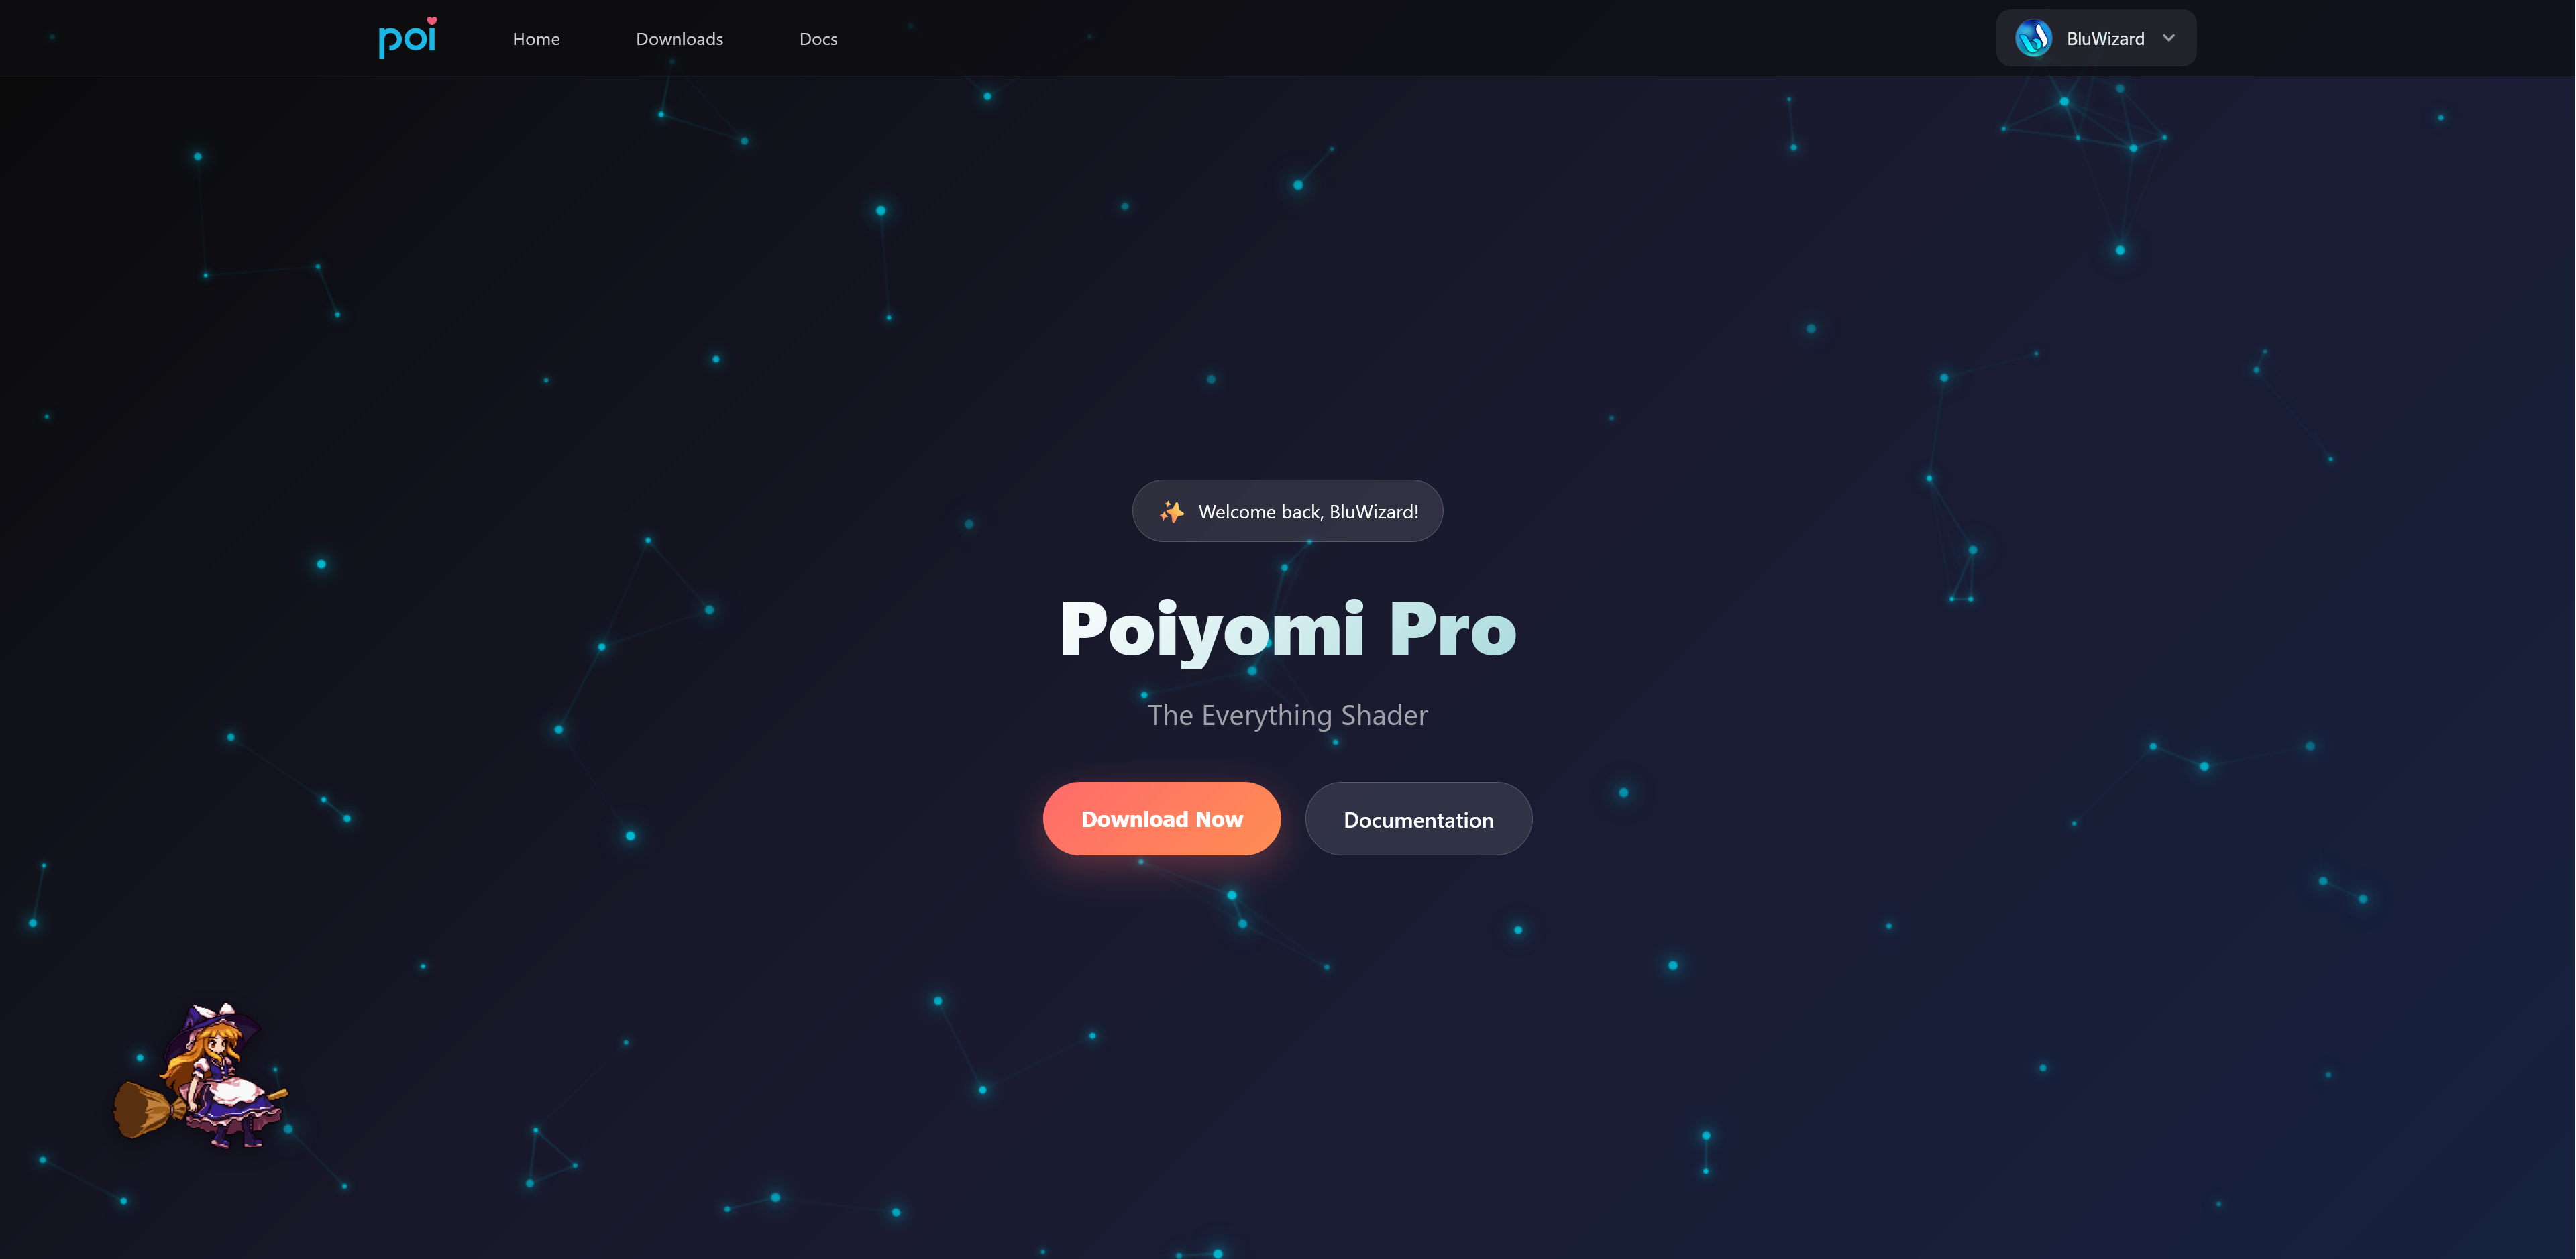 Example preview of the Poiyomi Pro website when logged in. You'll also notice it's accompanied by an animated
 I made a volume to store the light coming off of my little guy. You can't attach volumes to your avatar, this is just a demonstration.